
PMUpdater is a Windows application and requires Microsoft's .Net Framework to be preinstalled.
Step 1 - Download
Download the PMUpdater and run the self-extracting executable. It will install the application into Program Files\PMUpdater and add a shortcut on your desktop
Step 2 - Run the Application
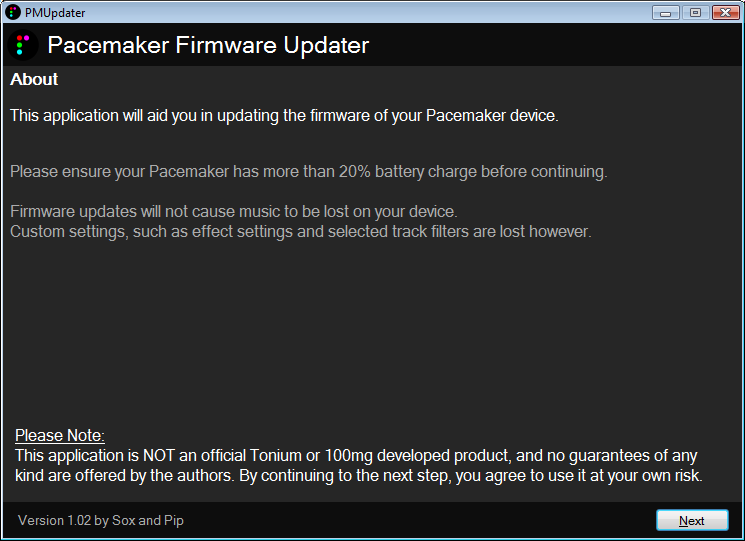
Click the shortcut to run the application. The first screen will show you the application version, advise you that your Pacemaker should be sufficiently charged before stating, and show a disclaimer that you use at your own risk. Press Next when you are ready to move on.
Step 3 - Connect Your Pacemaker
The next screen will show you whether or not your Pacemaker has been detected
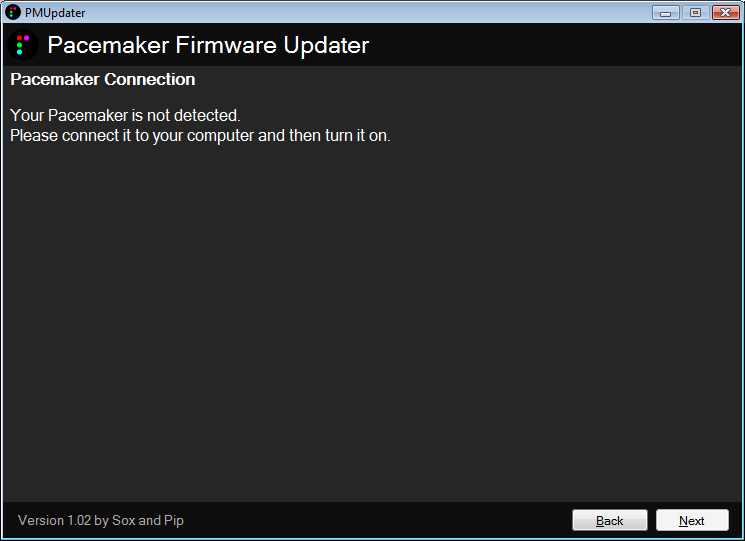
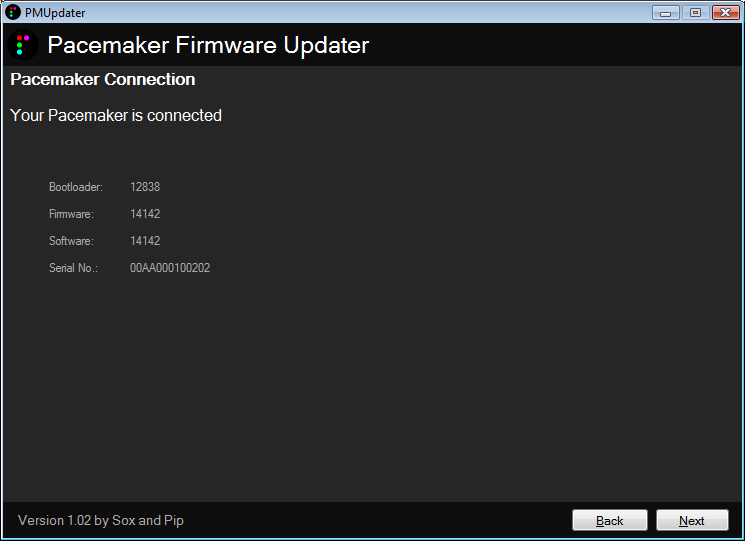
Connect your Pacemaker to your PC, then wait until it finishes booting until it shows the "Charging" screen. Then turn on your Pacemaker. The application should detect your Pacemaker and show you what version it currently is (no I don't know the difference between software and firmware). Press Next when your Pacemaker has been detected.
Step 4 - Select Firmware To Upgrade With
you have two choices here. If you have already downloaded a firmware (.pfw) file, then use the Browse button to find and select your firmware file. Otherwise this screen will offer you the versions of firmware available on the internet that you can download and apply.
If a firmware version is not offered, it is likely to be that this would be a downgrade, which the application will not help you do as changes to the database structure could mean you run into problems. If you really have to downgrade, we suggest setting your Pacemaker back to factory default condition, then upgrading to the firmware you want (Nb. You will likely lose the tracks you have already added to your device when if you do this).
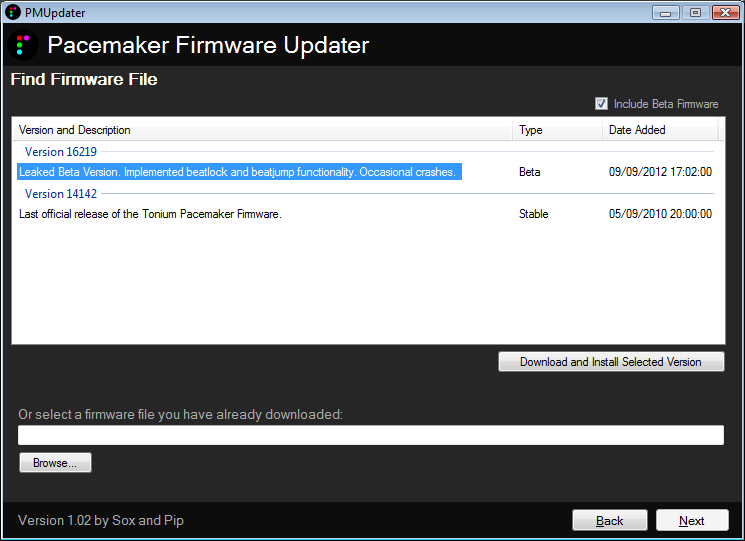
To download firmware, select the firmware version and the press the Download And Install Selected Version button. The download should proceed, then the application will automatically move onto the next screen.

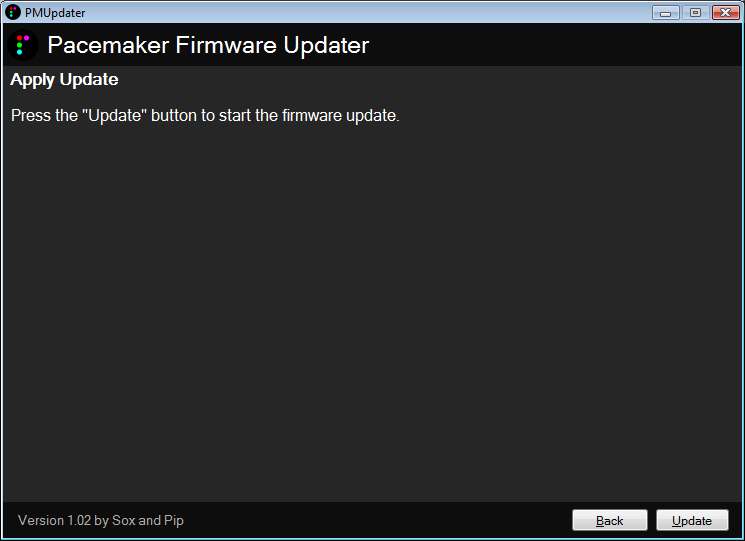
Step 5 - Apply The Upgrade
Press the Update button to start the upgrade process
Step 6 - Upgrade In Progress
The first step in upgrading your Pacemaker involves copying the firmware file to the relevant folder on your device.

The second step is applying the upgrade, which involves
- Ejecting the Pacemaker
- Waiting for the Pacemaker to upgrade the firmware
- Waiting for the Pacemaker to reboot
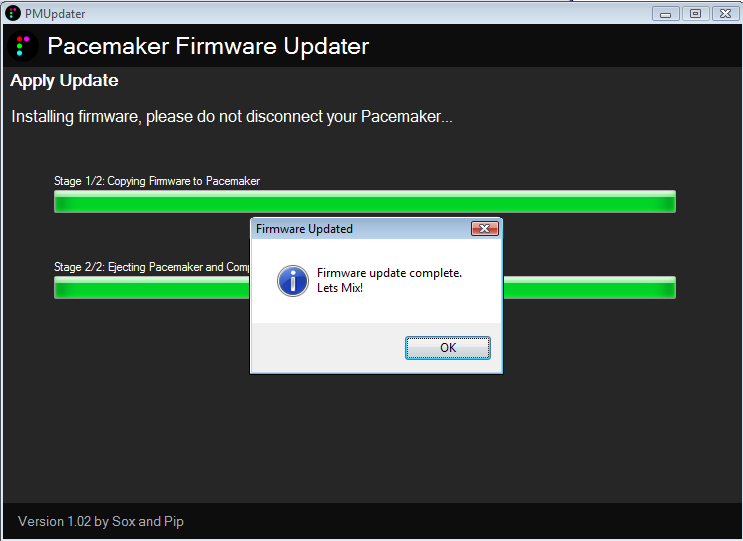
As you are probably eager to try your new firmware, don't forget to eject your Pacemaker using Windows Explorer rather than just unplugging it from your PC.