Upgrade Your Device Storage
Background:
Your Pacemaker device contains either a 60GB or 120GB hard-drive. This holds all the music on your device. Hard drives last on average between 5-10 years and unfortunately because the Pacemaker is portable, and hard drives are sensitive, if you’ve dropped your device or given it a few knocks on occasions – chances are it’ll be the first thing to break. Don’t despair! You can replace it – you just need to be comfortable with a screwdriver.
Things you will need:
- 1 x ZIF to Compact Flash Adapter
- Compact Flash Adapter to SD Card
- SD Card
- 1 x Hexagonal Torx T7 screwdriver
- 1 x Coping Saw or Saw to Cut.
Where can I order these things?:
The screwdriver is a hexagonal bit, specifically Torx T7. These are really cheap to buy – look for a set like: “Screwdriver Torx T5 T6 T8 T10 T15 Bit PH Tool Set for Mobile Phone” It’ll contain all the bits you need, including a Torx T7 and T4 for other parts of the Pacemaker not in this repair.
Compact Flash to ZIF Adapter:
SD Card to Compact Flash Adapter:
SD Card: Anywhere you like really.
Method:
STEP 1:
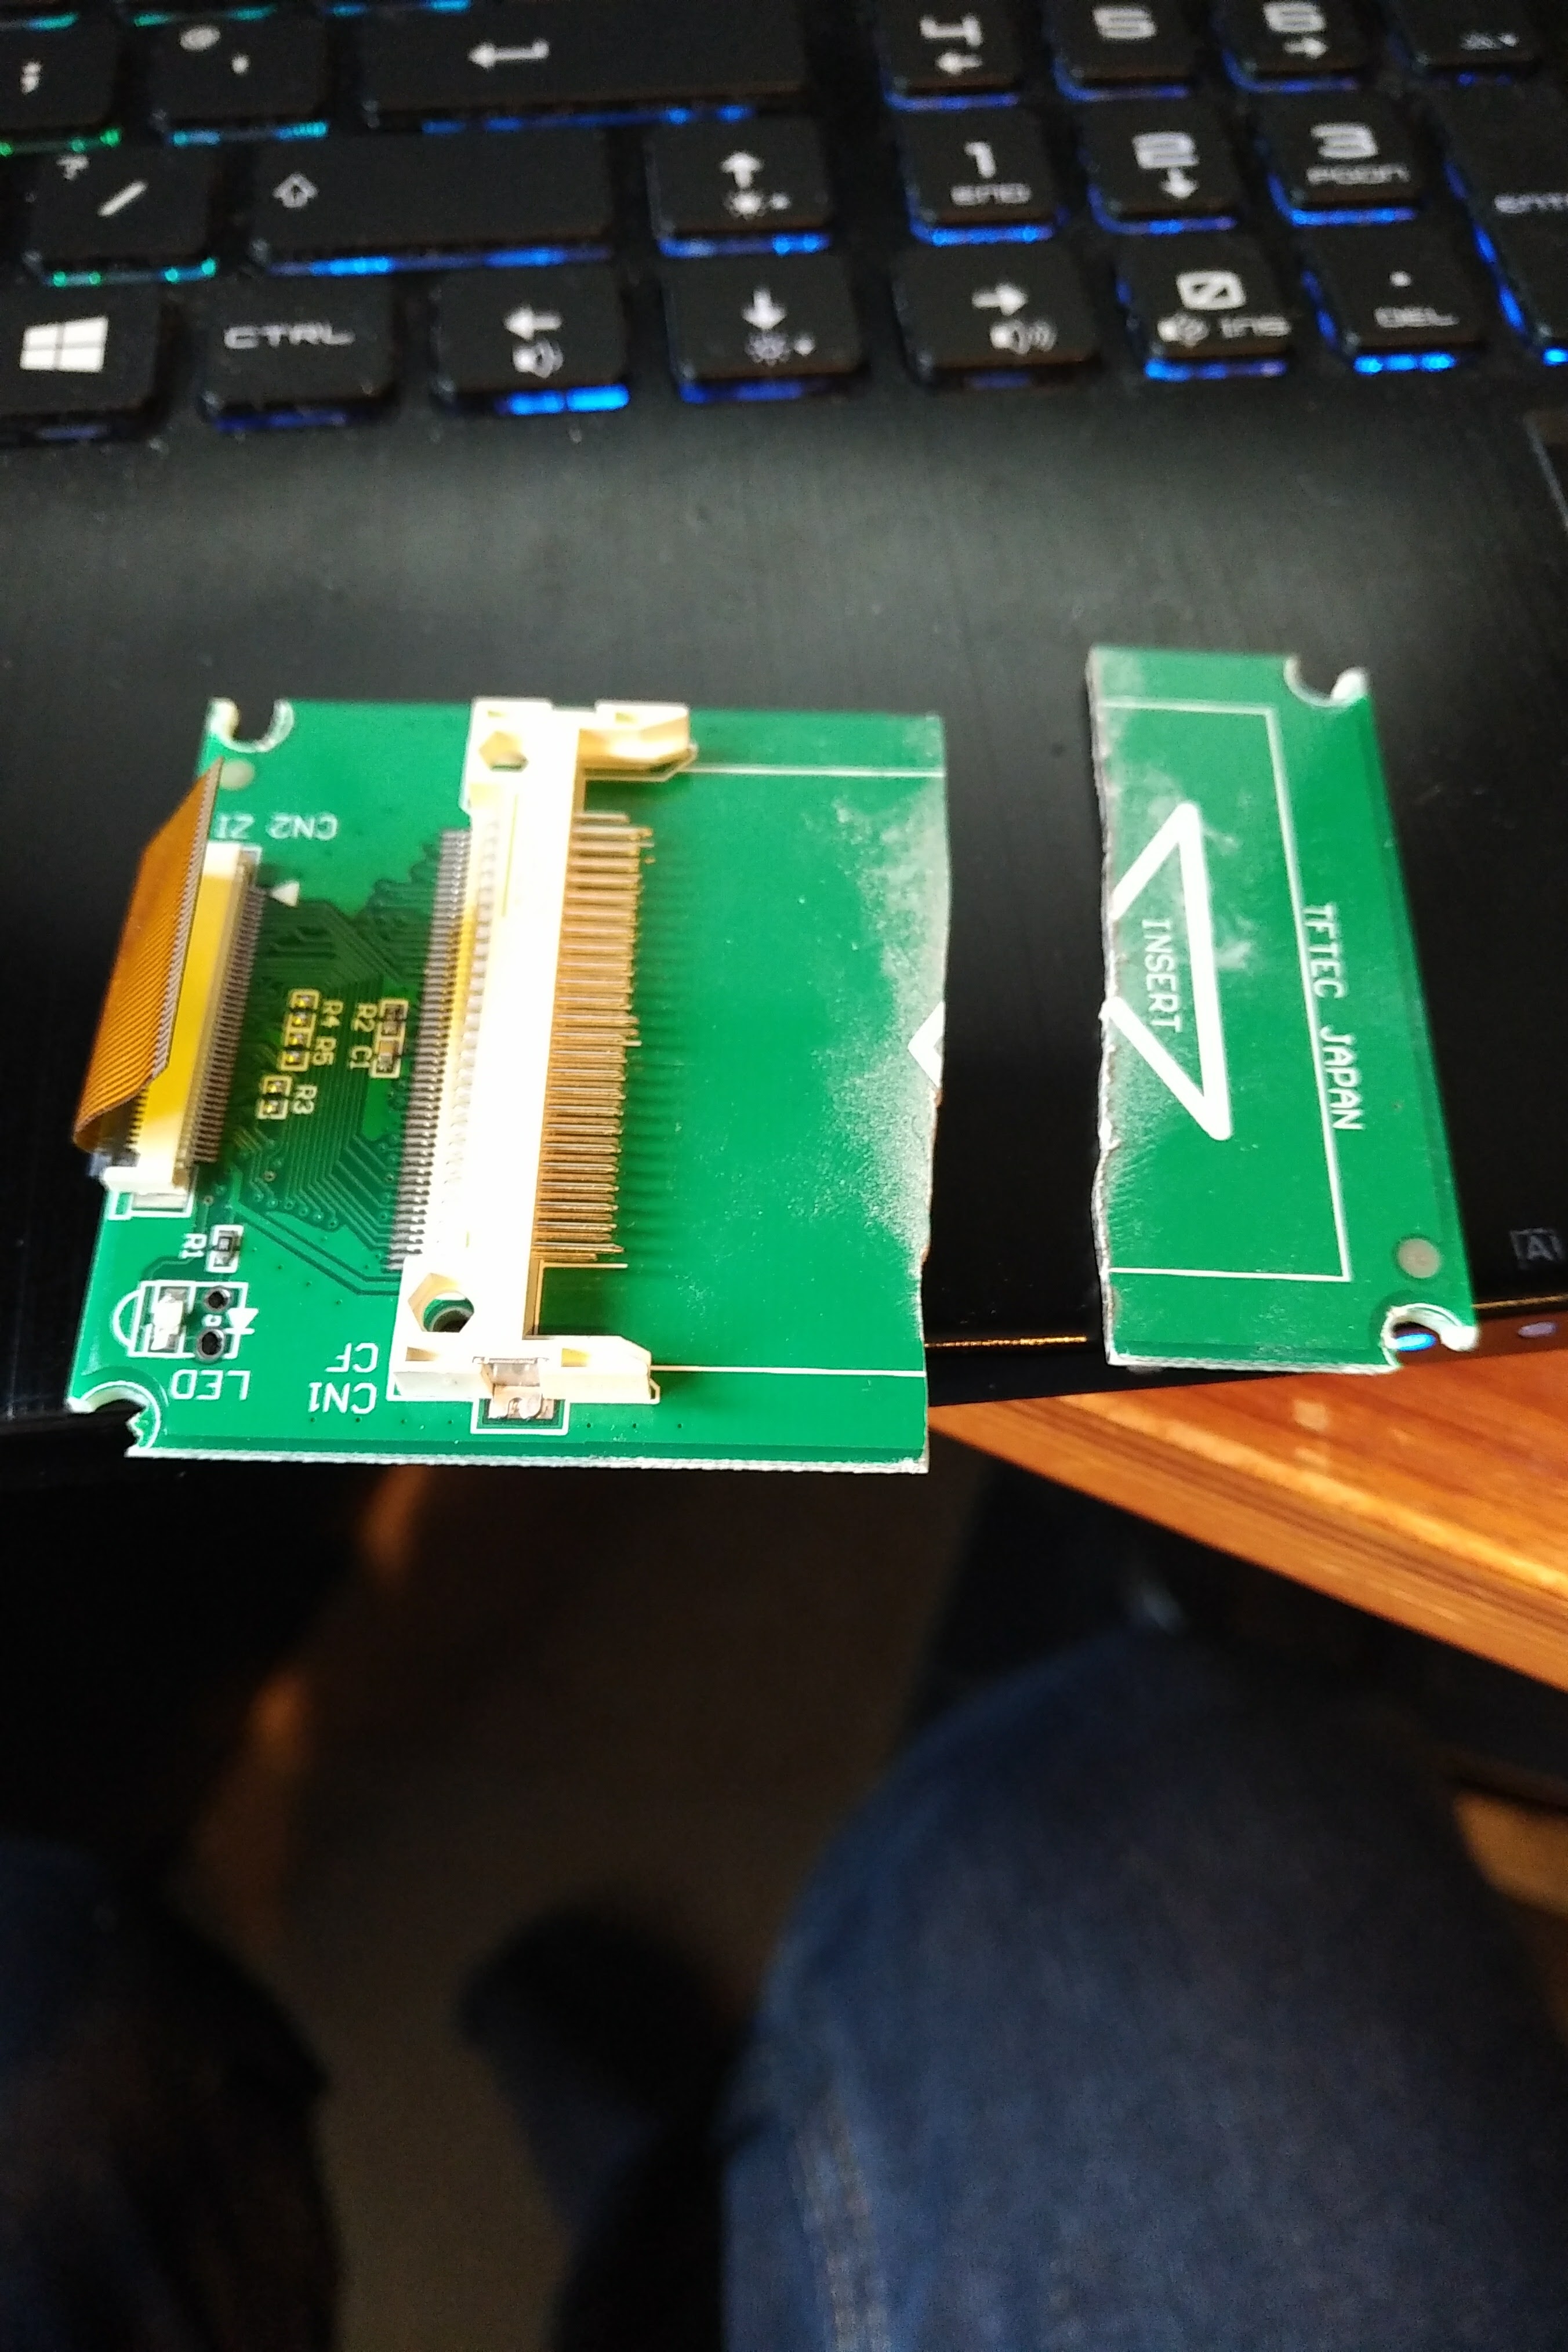 To make the adapter fit, it needs to be cut down. If you’re using the exact adapter linked above – cut somewhere similar to as shown in the photo. This does not affect the adapter in any way. If you mess this step up, you can always buy another adapter.
STEP 2:
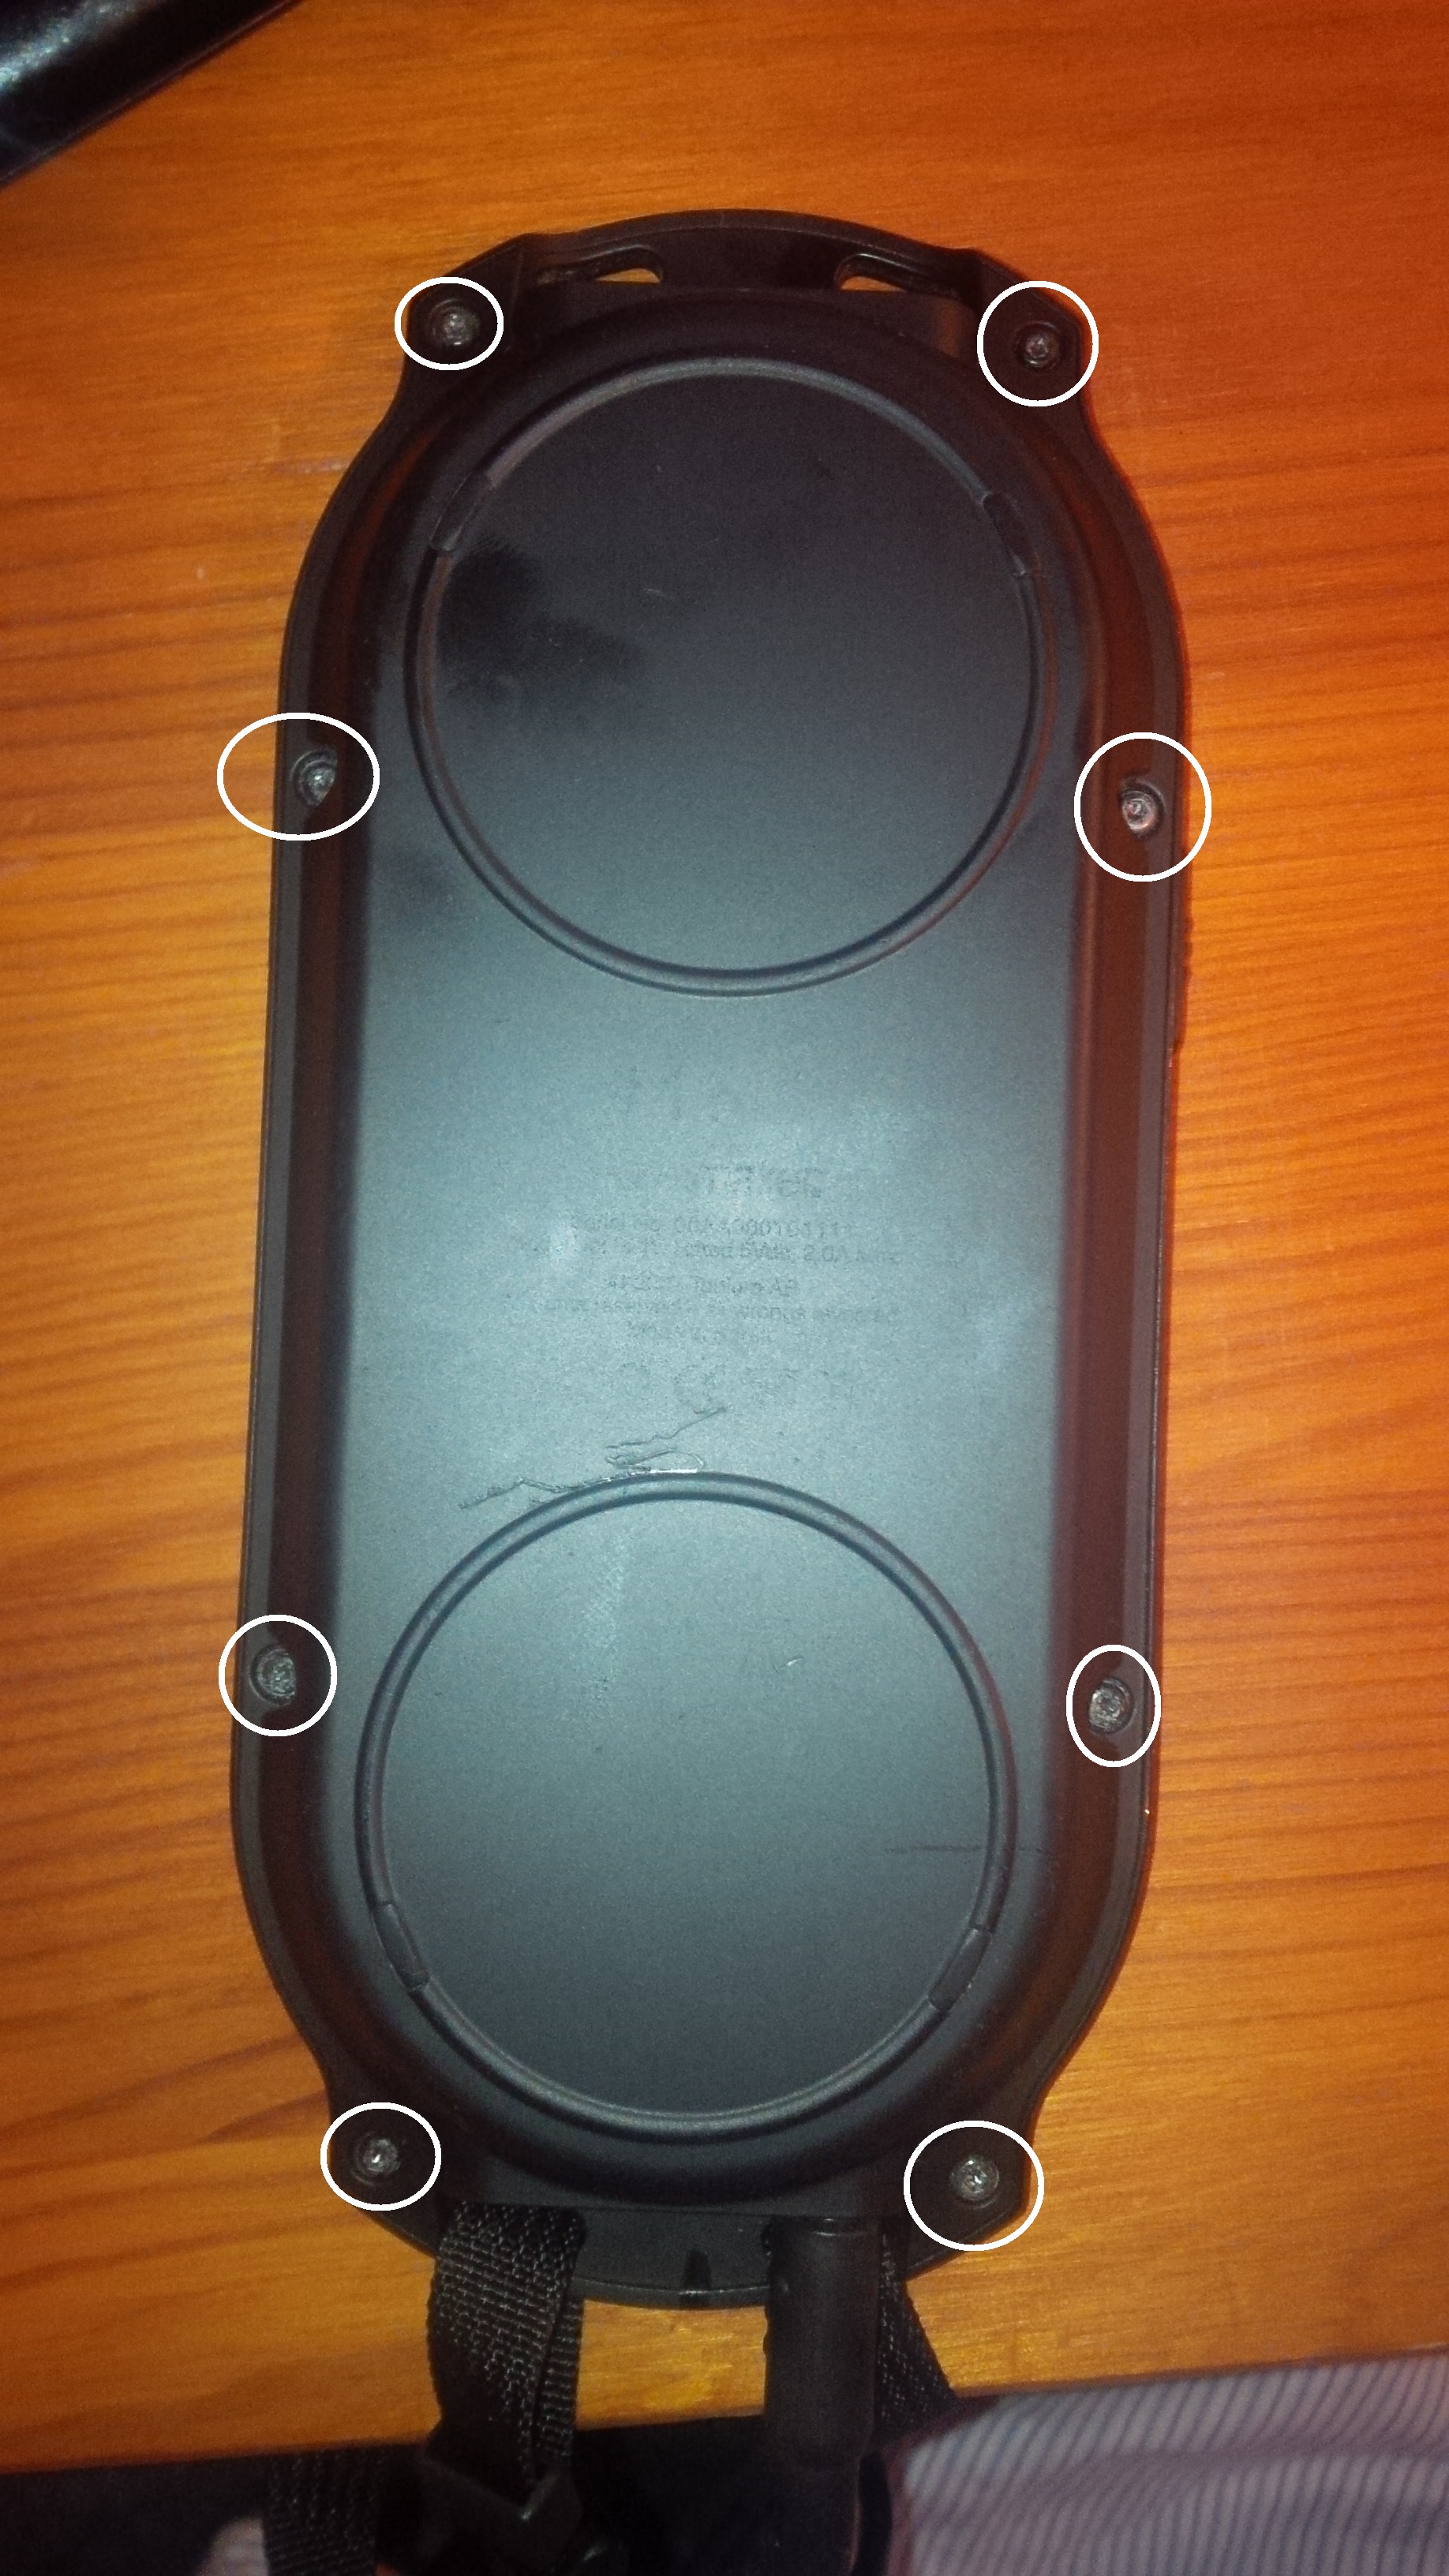 Place your Pacemaker device on a flat surface and unscrew the 8 screws on the back.
Lift off the backplate by pulling it straight upwards.
Do not attempt to pull it off at an angle as there are two boards for the power buttons and audio jacks which will be left in the backplate as you pull it upwards.
STEP 3:
WARNING – BE CAREFUL AS IT IS EASY TO BREAK THE ZIF RIBBON CABLE!
Th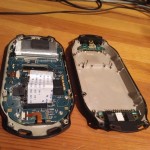 e hard drive (not shown in the picture above) is contained in rubber mounts which absorb knocks and vibrations. At the end closest to the bottom of the device is a small ribbon cable which connects the hard drive to the logic board within the device. You can see the white example in the picture though above. Carefully fold out the HDD downwards, so you can access the small black locking device on the ZIF connection. You must lift this with your fingernail and gently pull the ribbon cable out to allow you to safely remove the HDD.
NOTE: It will make your life easier if you only disconnect the end of the ZIF cable attached to the hard drive and leave the other end attached to the logic board.
STEP 4:
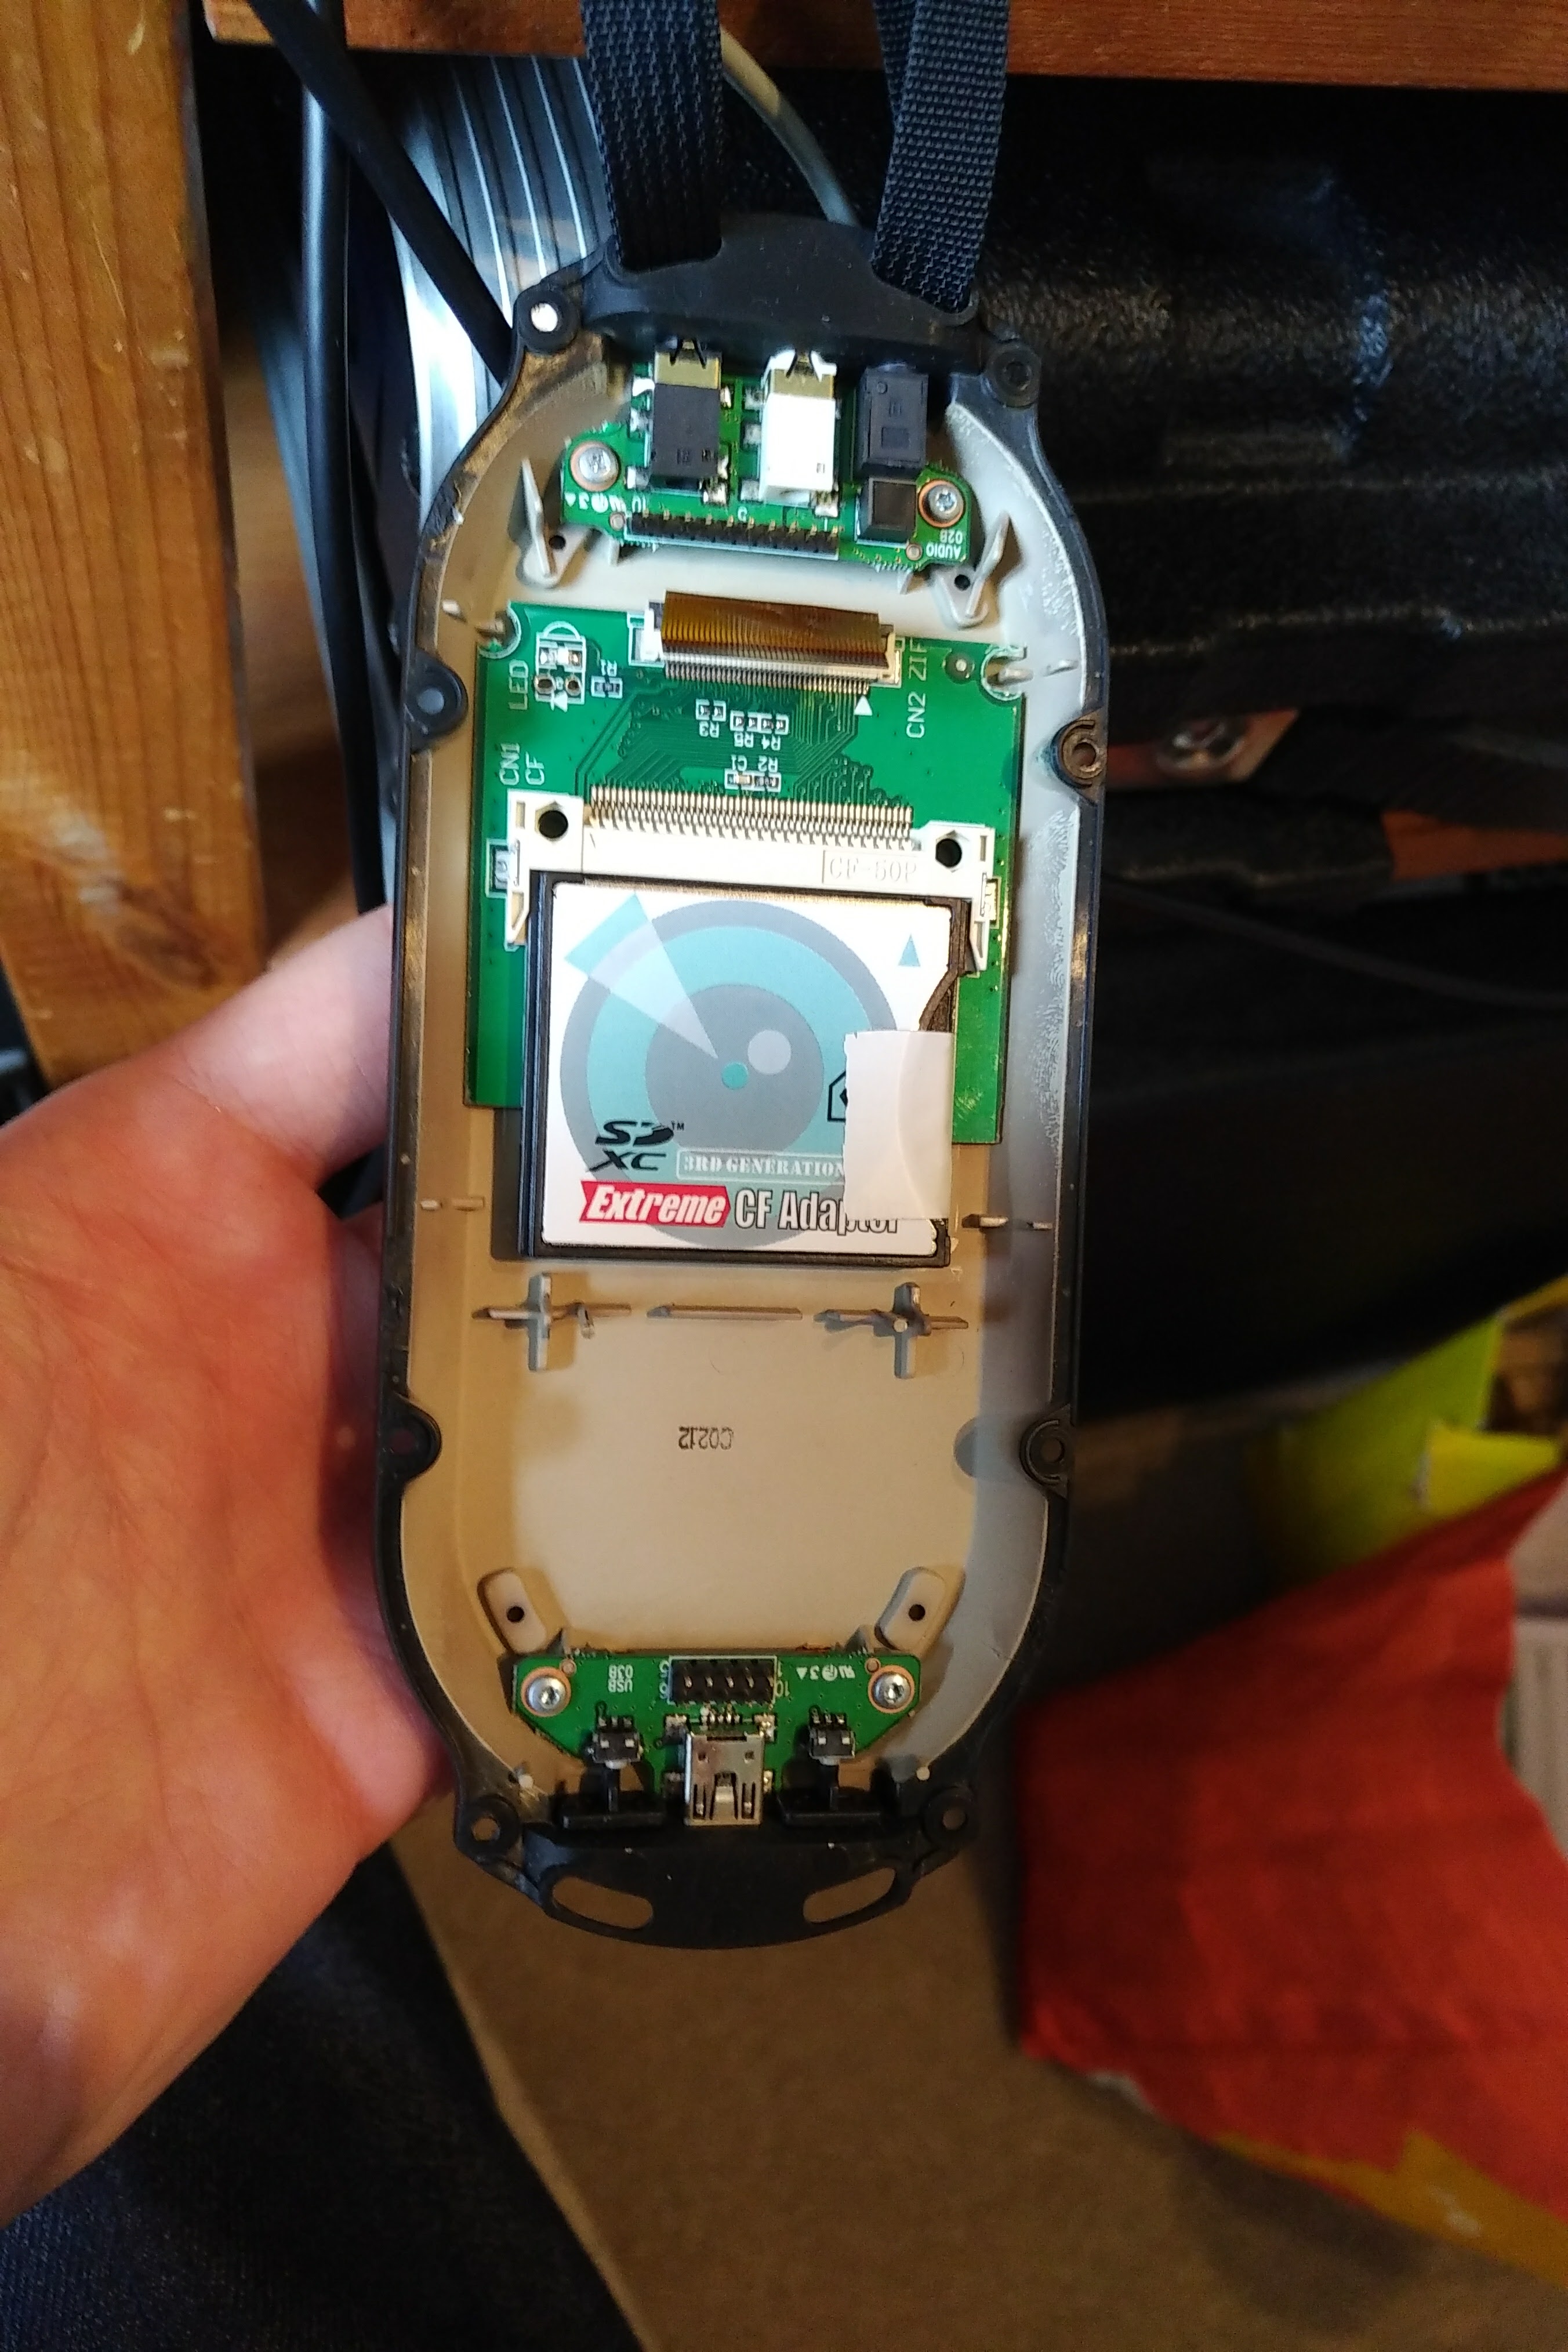 Having removed the old hard disk – test fit the new adapter with SD card installed in the back cover of the device. Providing it looks something similar to this, the device should be closeable. The white eletrical tape in the photo has been added to prevent the SD card from falling out.
STEP 5:
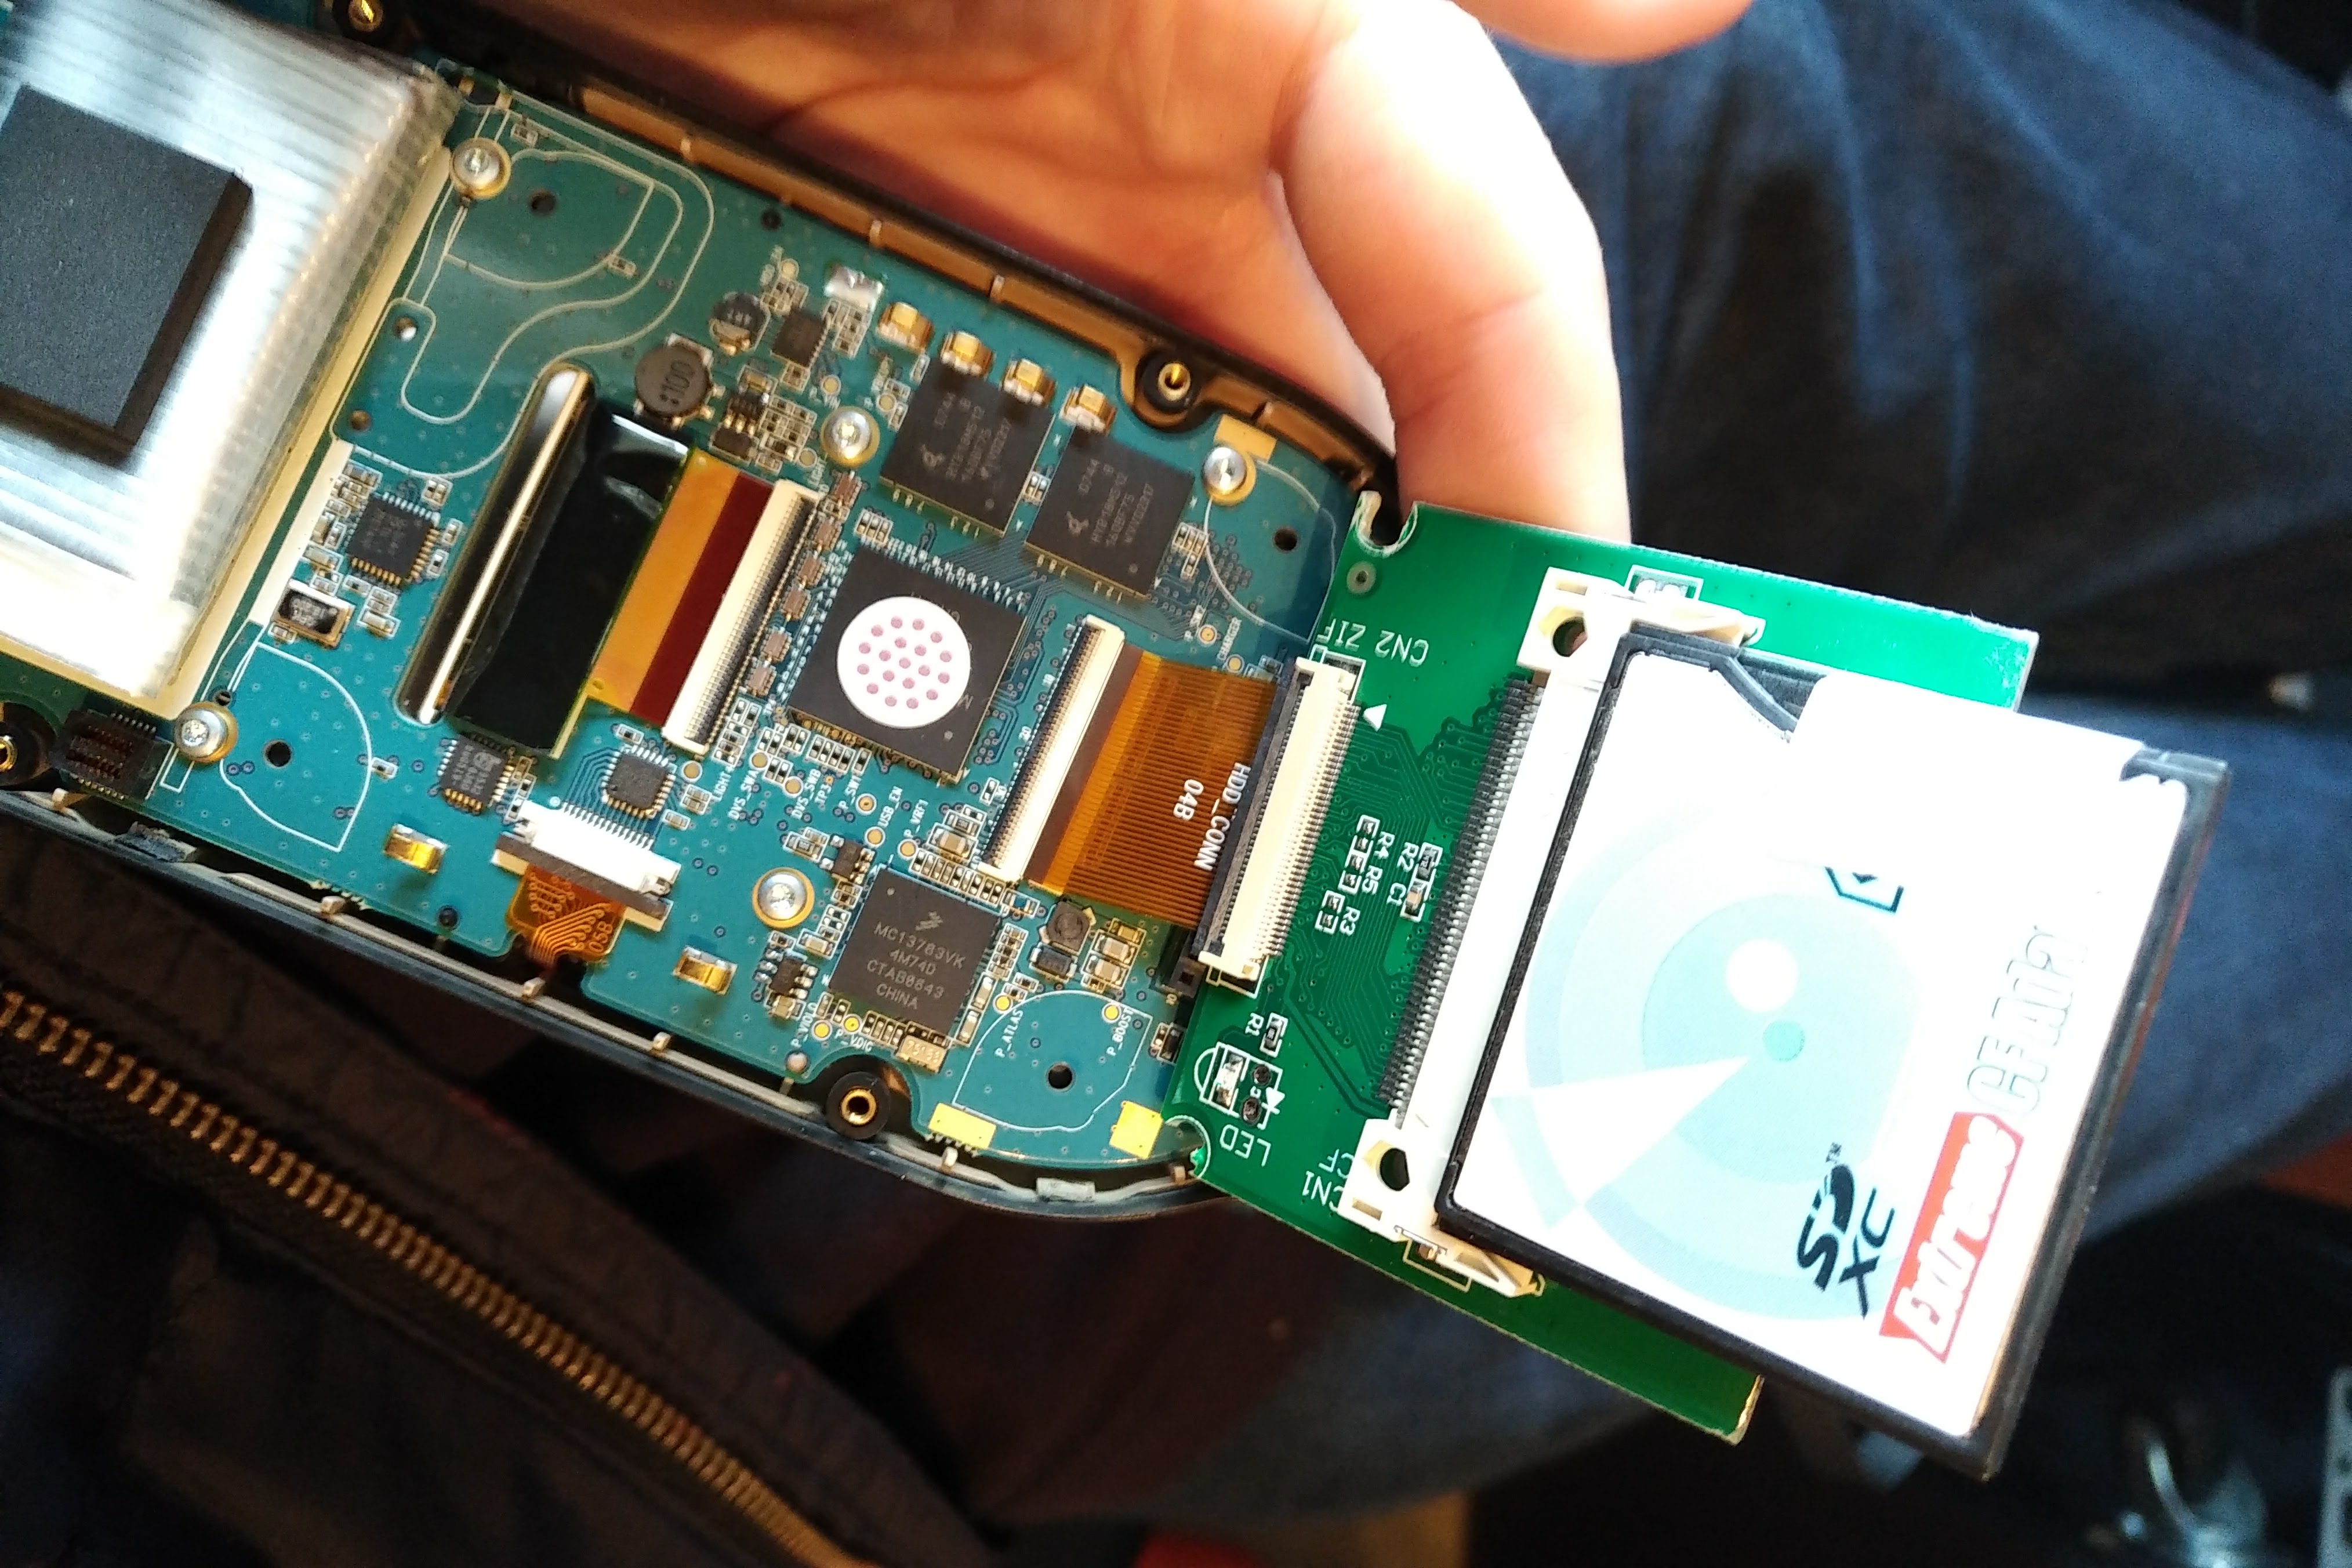 Connect the adapter now back where the hard drive was using the ribbon cable. Be sure to press the black clip back down firmly once the ribbon is in place. Fold this back over onto the board so that it lies flat.
STEP 6:
Put the back cover back on the device and replace the screws. Turn the device on, click “Restore Hard Disk” when prompted and install the latest firmware. You should be good to mix!